2026-10-07 · Michael Chen
Flushing Sediment From Your Water Heater in Brooklyn 11234
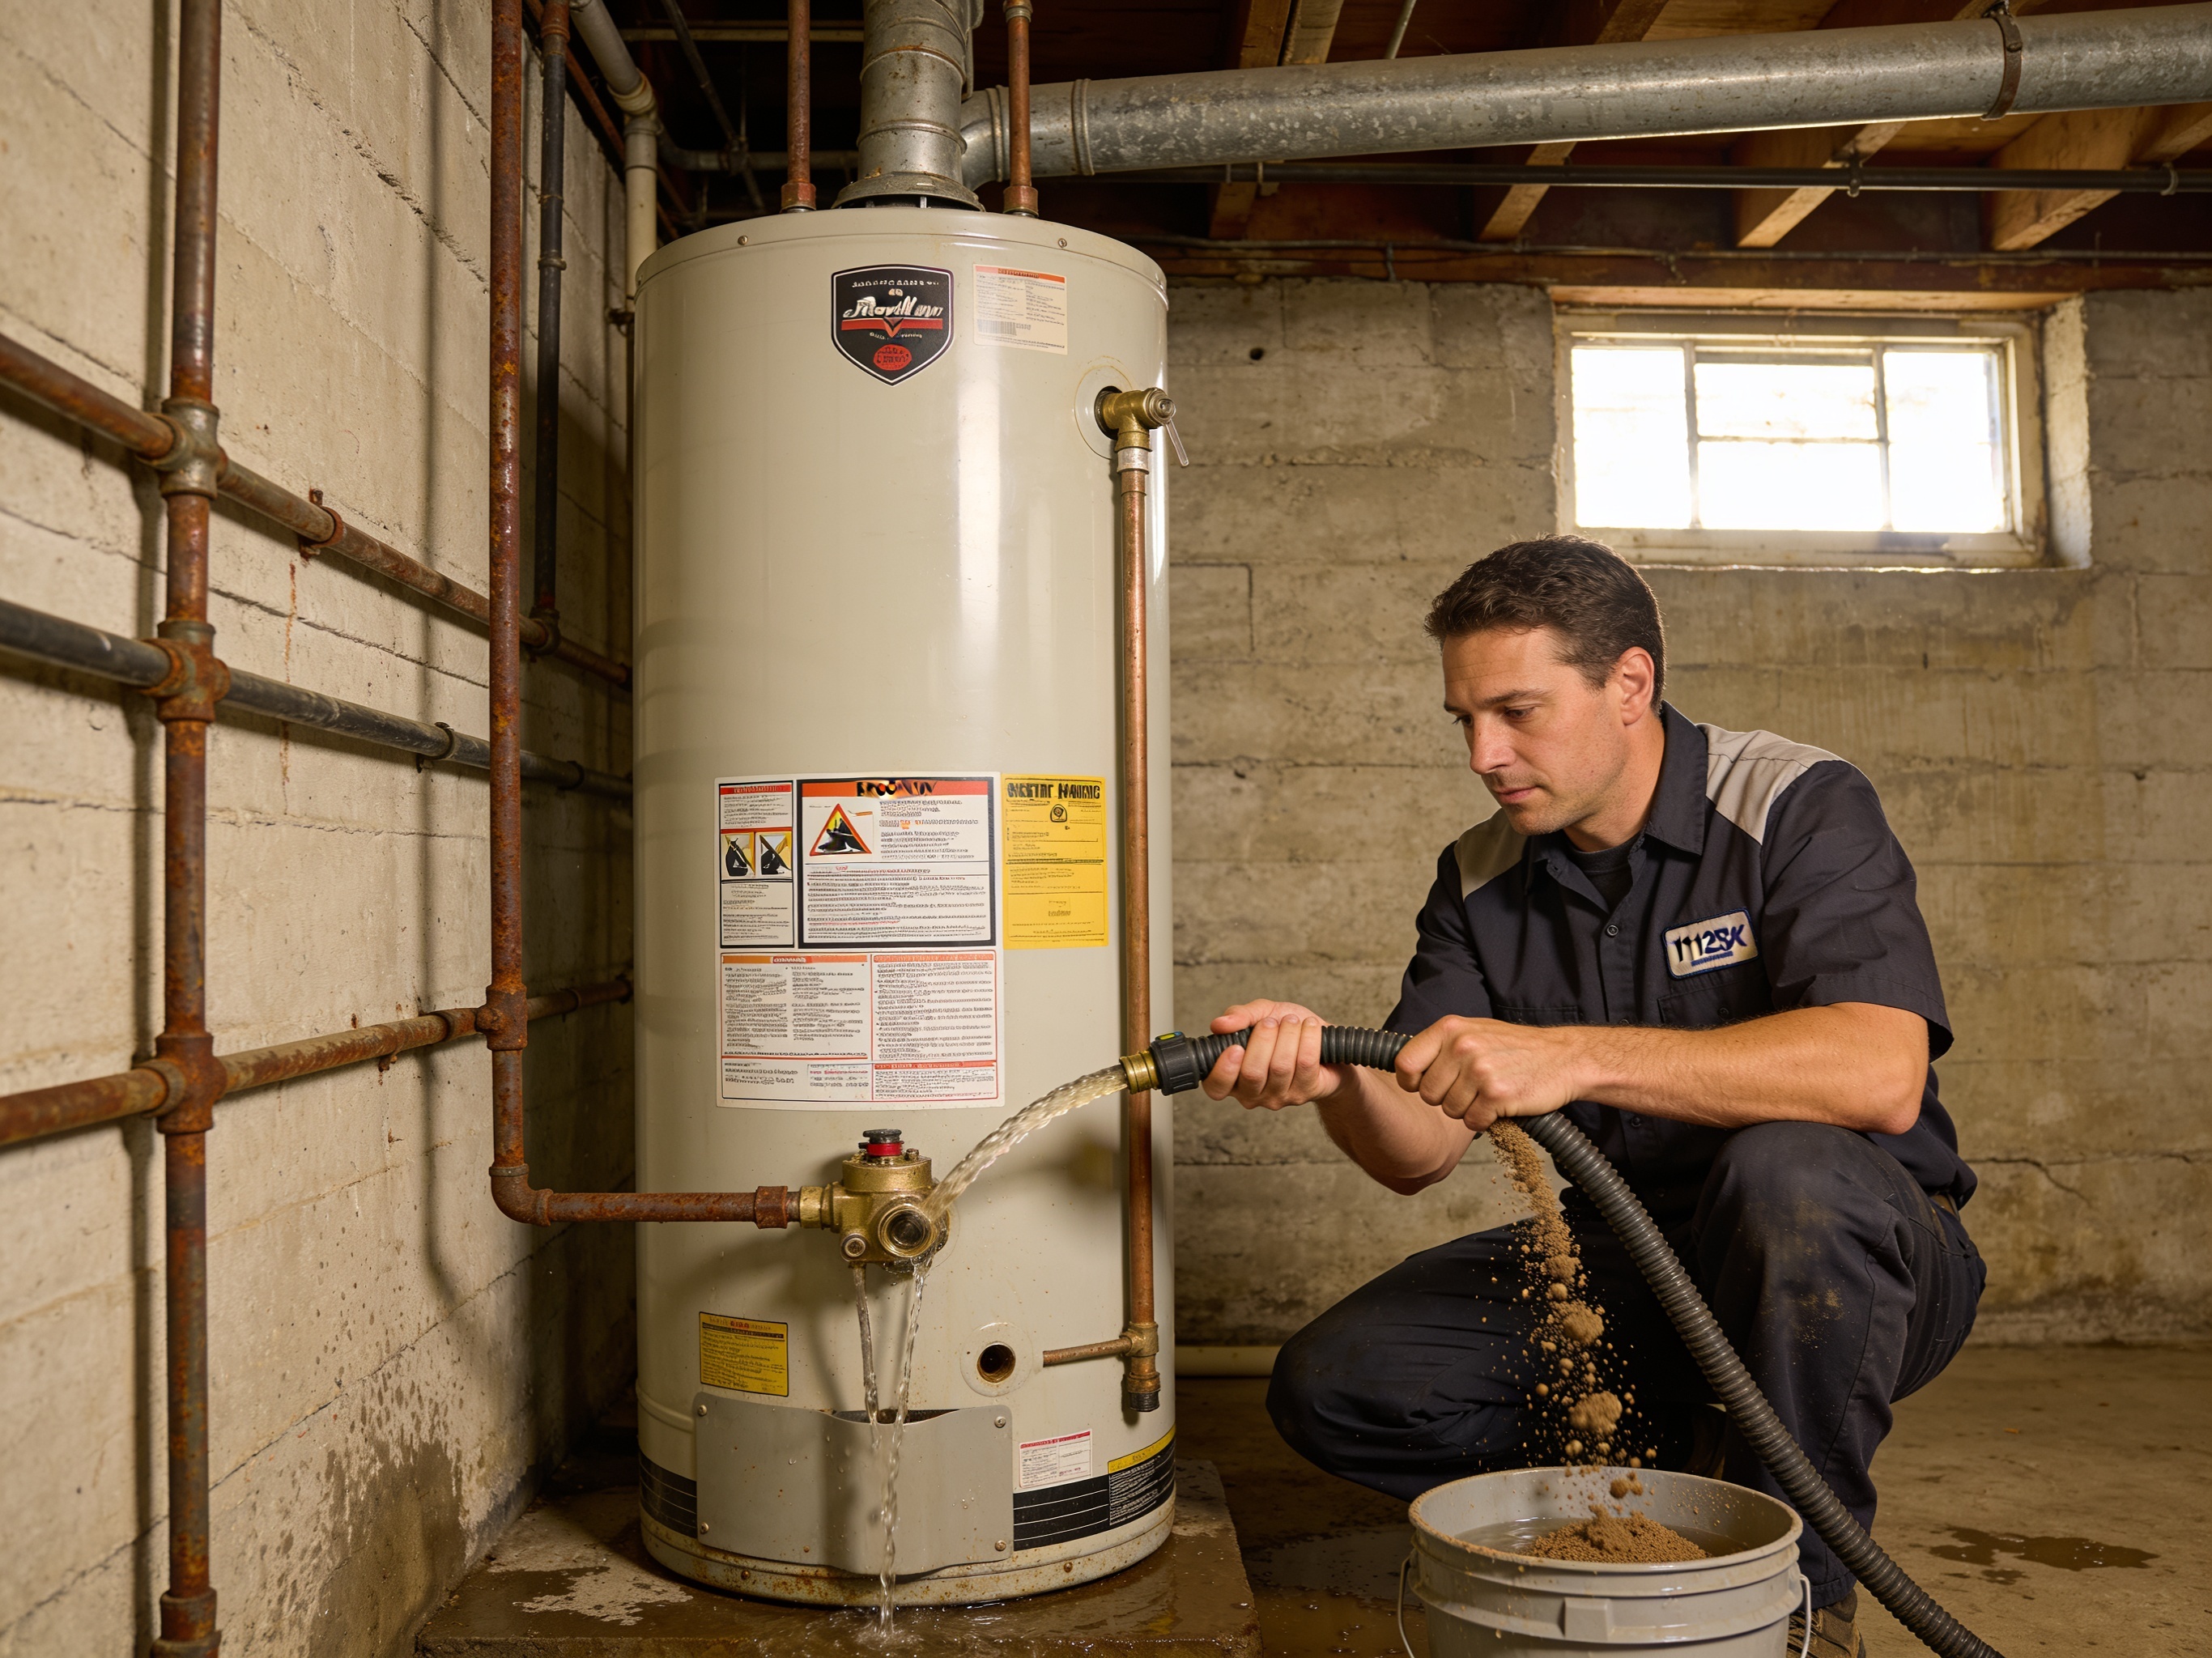
Flushing sediment from your water heater in Brooklyn 11234 is a straightforward maintenance task that should be performed annually, or even bi-annually if you notice significant sediment buildup or live in an older home with galvanized pipes. This process typically takes about 1–2 hours for a standard tank-style water heater and can be done by most homeowners with basic tools. Regularly flushing your water heater prevents common issues like reduced efficiency, strange noises, and premature failure, saving you from more costly repairs down the line. It's a small investment of time that yields significant benefits for your home's hot water system, especially considering the varied water quality across different Brooklyn neighborhoods.
Why Flushing is Crucial for Brooklyn Water Heaters
Water heaters in Brooklyn 11234, encompassing neighborhoods such as Marine Park, Flatlands, and Bergen Beach, are particularly susceptible to sediment accumulation due to the mineral content in our municipal water supply. Over time, these minerals, primarily calcium and magnesium, settle at the bottom of your water heater tank. This layer of sediment acts as an insulator, forcing your water heater to work harder and longer to heat the water. For gas water heaters, this can lead to scorching of the tank bottom, while electric models might experience premature failure of the lower heating element. The increased energy consumption directly translates to higher utility bills, and the constant stress on the tank can shorten its operational life, often reducing it from an expected 10–12 years down to 6–8 years.
Moreover, sediment buildup can lead to audible complaints, such as popping or rumbling noises, which are often indicators of superheated water trying to escape through the sediment layer. These sounds are not just annoying; they signal that your water heater is under strain. Ignoring these signs can lead to more severe problems, including leaks or complete system failure. Proactive flushing helps maintain the integrity of your tank and ensures consistent hot water delivery, a necessity during Brooklyn's colder months when hot water demand is at its peak. If you're hearing these noises, it might be time for a professional to inspect your unit. You can learn more about this issue on our page about Water Heater Making Noise.
Tools and Materials You'll Need
Before you begin flushing your water heater, gather the necessary tools and materials. Having everything on hand will make the process smoother and more efficient. You won't need specialized equipment, just some common household items. This preparation ensures you can complete the task without interruptions and reduces the risk of any mishaps. Always prioritize safety and ensure you understand each step before proceeding.
- Garden Hose: A standard garden hose long enough to reach from your water heater's drain valve to a suitable drainage area, such as a floor drain, utility sink, or outside. Make sure it's in good condition with no leaks.
- Bucket: A 5-gallon bucket can be useful for catching initial water or for inspecting the sediment content.
- Adjustable Wrench or Screwdriver: Depending on the type of drain valve your water heater has, you might need one of these to open and close it.
- Work Gloves: To protect your hands, especially when dealing with potentially hot water.
- Safety Glasses: To protect your eyes from any splashing water or debris.
- Towels: For wiping up any spills or leaks that may occur during the process.
- Wire Brush (optional): If your drain valve is particularly stubborn or corroded, a wire brush might help clean it.
Step-by-Step Guide to Flushing Your Water Heater
Flushing your water heater involves several key steps designed to safely and effectively remove sediment. Follow these instructions carefully to ensure a thorough cleaning and prevent any damage to your unit. Remember, if you're uncomfortable at any point, it's always best to call a professional.
- Turn Off the Power/Gas Supply: For an electric water heater, locate the circuit breaker in your electrical panel and switch it off. For a gas water heater, turn the gas control valve to the "OFF" position. This crucial step prevents the heating elements or burner from activating while the tank is empty, which could cause severe damage. Never drain a water heater while it's still powered on.
- Turn Off the Cold Water Supply: Locate the cold water shut-off valve, typically a handle or knob on the cold water inlet pipe at the top of your water heater. Turn it clockwise until it's completely closed. This stops new water from entering the tank as you drain it.
- Open a Hot Water Faucet: Go to a hot water faucet in your home, preferably one on an upper floor, and open it fully. This releases any vacuum that might form inside the tank, allowing it to drain more easily. Let it run until the water runs cold, indicating the tank's hot water is depleting.
- Connect the Garden Hose: Attach one end of your garden hose to the drain valve located at the bottom of your water heater. Direct the other end of the hose to a suitable drainage area, ensuring it's positioned to handle the volume of water from your tank (e.g., a 40-gallon or 50-gallon tank). Make sure the hose is securely attached to prevent leaks.
- Open the Drain Valve: Carefully open the drain valve
Refilling Your Water Heater and Final Checks
After successfully flushing the sediment, the next critical steps involve refilling your water heater and performing final checks to ensure it's operating correctly. Rushing this part can lead to airlocks or damage, so take your time and follow the sequence. Properly refilling the tank is essential for preventing damage to heating elements and ensuring efficient operation.